Local LLM Setup
Prerequisites
You should already have docker installed.
Install ollama
Ollama has installers for macOS, linux, and windows: https://ollama.com/.
Find your installer and install it. When I installed it on my Mac it defaulted to run on startup. I disabled that later, but that means I need to run ollama serve before I start up any LLM work.
Open a terminal and enter ollama -v. If you get an error, run ollama serve then open a new terminal and enter ollama -v.
![]()
Scan through the ollama library of LLMs. https://ollama.com/library. As of this post, 3.3 just came out and 3.2 is the best for local chat. Or you might take a look at qwen-coder for writing code. In order to download these models, run ollama pull <model-name>. If you don’t pull any models then you won’t have any in open-webui.
Additional info on ollama commands in the ollama repo README here, https://github.com/ollama/ollama.
Install open-webui
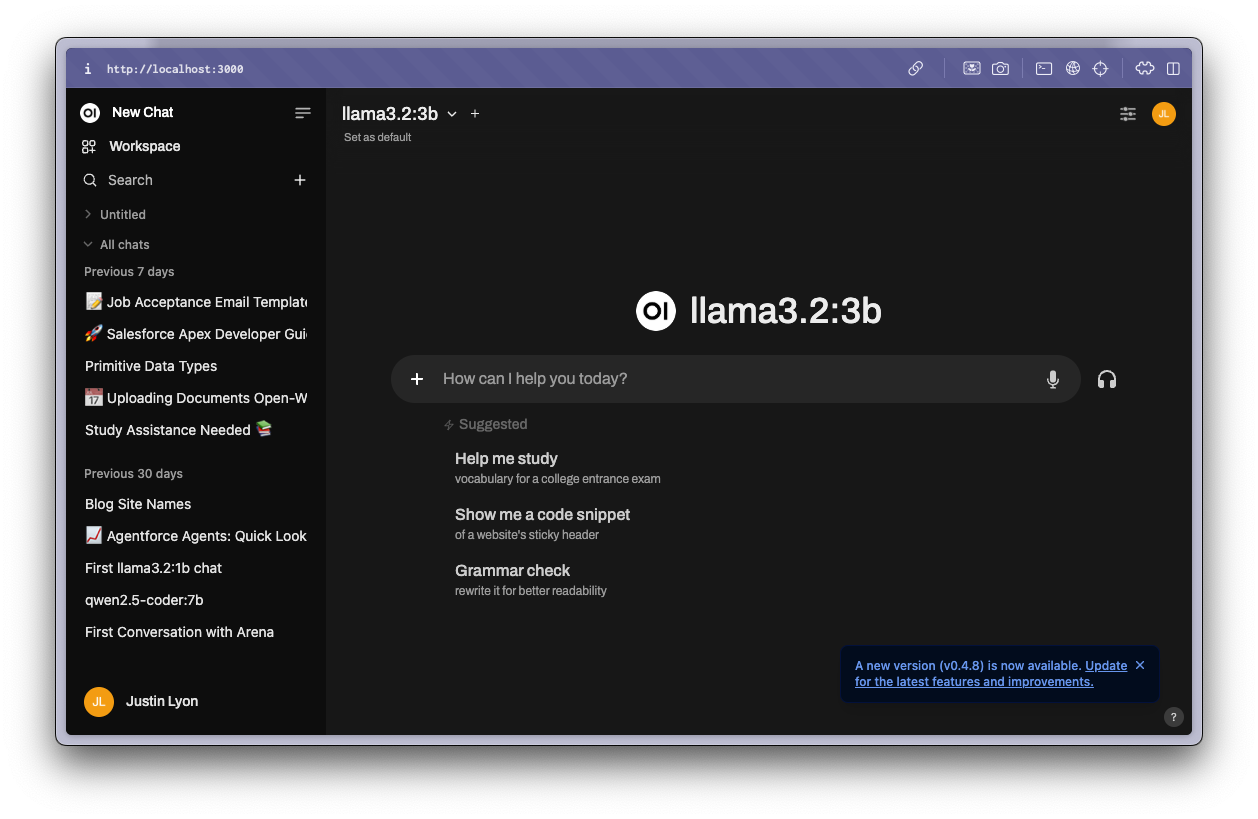
Running open-webui is a matter of pulling and starting a docker container with a volume to persist local data. You don’t have to understand how it works as long as you’re running ollama locally and you paste in the following command. When the container is running, open localhost:3000 in your browser. Your first time you sign in, it will prompt you for a login. The first person to login is by default the Admin. I haven’t had to enter it a second time. While it may be just another hoop for personal use, it is an important step if you plan on hosting your llm and sharing it with multiple users.
- Open your terminal and run the following docker command.
docker run -d -p 3000:8080 --add-host=host.docker.internal:host-gateway -v open-webui:/app/backend/data --name open-webui --restart always ghcr.io/open-webui/open-webui:main
- Open your browser to
localhost:3000. - Enter a username and password, this is an admin user setup that you only need to do once.
For advanced users, I’m referencing Quick Start with Docker from the open-webui repo, https://github.com/open-webui/open-webui. The repo README has what you need to dive into the weeds.
Setup a RAG Model
RAG (Retrieval-Augmented Generation) is the idea of giving an LLM access to a collection of documents. Do you have a stack of pdf files for a particular tool? Some home appliances? Give them to an LLM and you can now chat with your documents.
Open open-webui and get started:
- In open-webui, click on
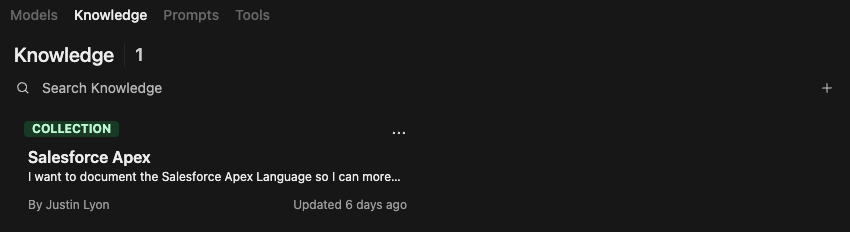
Workspace. - Click on the
KnowledgeTab. - Click on the
+to Create a knowledge base.- Enter a name and description for your knowledge base. This can be one or many documents.
- Visibility doesn’t matter if you’re running it locally.
- Click
Create Knowledge.
- Still in Workspace, click on the
ModelsTab. - Click on the
+to create a new Model.- Enter a name and description for your model. This model will combine of one of the ollama models you pulled with your Knowledge Base.
- Choose a Base Model. Options for base model are the models that you have already pulled using ollama.
- Don’t forget to enter a System Prompt that tells the model what its job is and how it should interact with you in your chats.
- Click
Select Knowledgeand add your collection. - Click
Save & Update.

Open WebUI has citations support which is a really important feature in LLMs. We need to be able to see where it got its answers in order to determine how true it is. Never trust an LLM blindly. The default settings for our RAG setup will tell you where the answers were found in your PDFs.
Open WebUI docs on RAG: https://docs.openwebui.com/features/rag/
What next?
I’m still experimenting with RAG, but I’m excited about the potential to plug-in unstructured data that I can “chat with.” One improvement that I’m considering is to preprocess my PDFs before giving them to the RAG. The model can do pretty well with most PDFs, but you can make the model’s job easier if you can extract the text from the PDF and remove any unnecessary or complex formatting that might otherwise cause the model to choke. Maybe I won’t even use PDFs, but markdown instead.