Vercel Starter
This was almost a “Netlify Starter” project, but the day I sat down to work on this Netlify suspended my account before I could even verify my email address. So… Sorry Netlify.
Anyhow, this Vercel project was really easy to setup. I went from creating my Account to hosting a static html page in about half an hour of futzing about.
Create a GitHub Repo
I’m using GitHub, but Vercel also supports direct connections with GitLab and BitBucket. There are some alternatives to use git too if you just want to drag and drop a folder. But you’re using git aren’t you? …Aren’t you?
Create a git repo that has a public folder. In that public folder place a single html file, index.html. For the sake of time, you can paste the following into your index.html.
Push this to your remote and move on to the next step.
<!DOCTYPE html>
<html lang="en">
<head>
  <meta charset="UTF-8">
  <meta name="viewport" content="width=device-width, initial-scale=1.0">
  <title>Vercel Starter</title>
</head>
<body>
  How quickly can I host this on Vercel?
</body>
</html>
Create the Vercel Account
Go to Vercel and create an Account.
Create the Vercel Project
From the Vercel home screen create a Project by clicking the Add New dropdown and selecting Project.
Vercel will ask for your Git Provider and if you select GitHub, while you go through OAuth, it will ask you to specify app permissions. I have it setup to only provide access to specific repositories because I have too much stuff on GitHub.
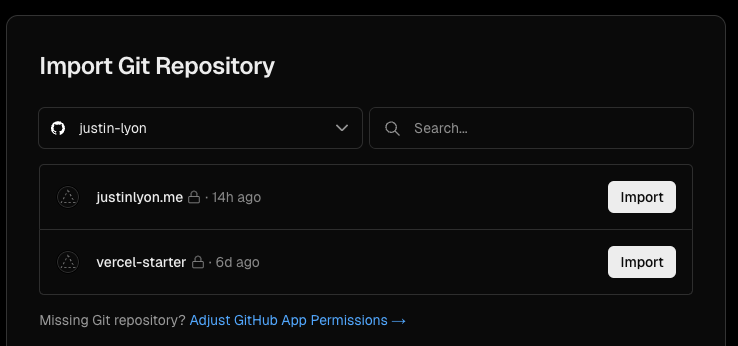
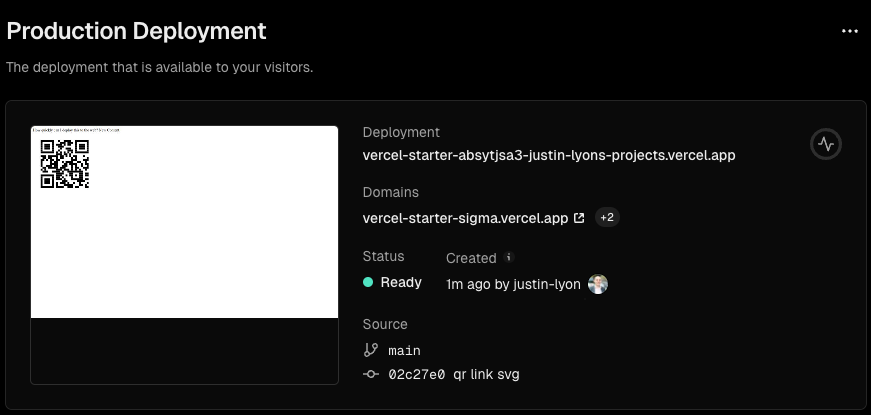
Once you’ve linked the Vercel Project to the GitHub repo, skip the framework preset and click Deploy. Vercel will go ahead and start a deployment. You can observe the deployment status by checking the Deployments tab of your new Project.
When the deployment is complete, open the provided URL in your browser and you should see your new page!
Try pushing a small text change to your html page. Vercel observes the push and automatically starts a new deployment. Seconds later and your text is on the page!
Add a Custom Domain
Optionally, you may want to add a Custom Domain. You can purchase a domain right from Vercel and their process is very simple.
I went the relatively harder route by bringing my own custom domain from Namecheap.
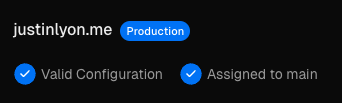
To use my Namecheap custom domain on Vercel, I take the Nameservers from Vercel and add them to my Nameservers list on Namecheap.
Click the Refresh button on Vercel’s domain config. When vercel confirms it’s connected, try opening your custom domain.
If it doesn’t work on your desktop browser, the DNS cache may need refreshing and best to just give that some time. What you can do in the mean time is try opening the custom domain on your phone. If it works on your phone, then you know that you just need to wait for the DNS cache on your computer/router to reset, that can take anywhere from an hour to a day.